![]()
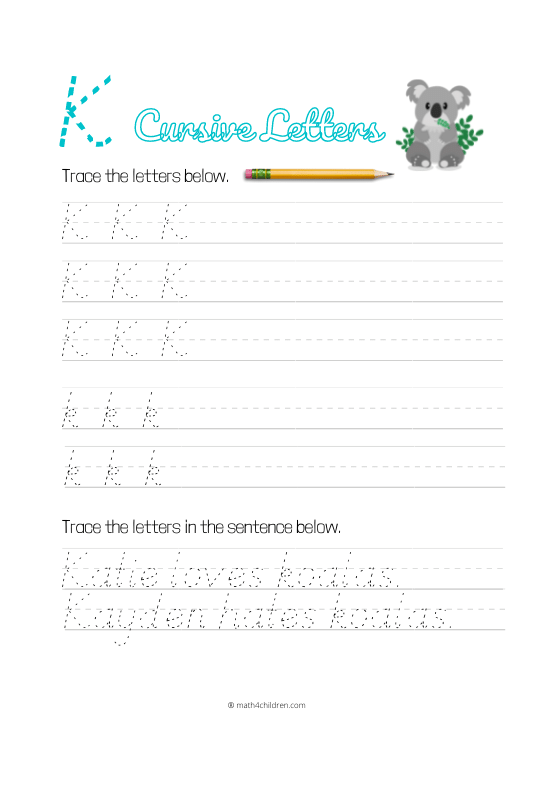
Cursive K worksheet - Cursive handwriting letter K
Cursive K worksheet pdf
Download all A - Z cursive letters here >>
Help your child keep up with their handwriting progress by practicing how to write the cursive letter “K.” It can be worthwhile to use the best letter “K” cursive writing worksheets as a convenient and comfortable learning aid for your child’s next homework or lesson at school. Constant practice can really kick off their writing ability and help them improve their penmanship.
This worksheet is divided into different sections for streamlining the process for learning how to write a cursive “J.” The initial section provides a clear and prominent example on the ideal construction of the letter. Your student can examine it, and then proceed to the practice rows to trace out and spell the letter for themselves. They will put their cursive technique to the test by writing words and sentences at the end.
Your child can find the appearance of many cursive letters a tad kooky, and hard to learn. By making a concerted effort in practicing to write them, they will eventually pick up cursive. It can be advantageous if your child has developed a habit in jotting down their ideas and notes, as this provides them more experience in writing altogether.
We’ll provide a brief rundown on writing the cursive letter K. Its uppercase form begins with a downward stroke that can appear like a candy cane. The writer lifts their pen or pencil and begins another stroke a little further to the top right. This stroke moves diagonally to touch the first line at its midpoint before fraying away towards the bottom right.
Cursive K printable sheet
Writing cursive K is a useful skill to have as it is a letter that appears frequently in the English language. Here is a step-by-step guide on how to write a cursive K on a worksheet: Start by sitting at a desk or table with a pen or pencil and a piece of paper. Make sure you have good posture and a comfortable grip on your writing instrument. Begin by drawing a small loop at the bottom left of your page. This will be the beginning of your K. From the bottom of the loop, draw a line upwards and to the right, ending in a curve at the top of the loop. This will form the left side of your K. From the top of the loop, draw another line downwards and to the right, ending in a curve at the bottom of the loop. This will form the right side of your K. Practice writing the letter K several times until you feel comfortable with the shape and flow of the letter. Pay attention to the size and placement of the loop and the curves on either side. Once you feel confident in your K, try writing it in a word. You can start with simple words like "book" or "kite" and work your way up to more complex words as you improve. As you write, pay attention to the size and spacing of your letters. In cursive, it is important to keep your letters a consistent size and to leave enough space between them so that they are legible and easy to read. Practice writing the letter K in both uppercase and lowercase forms. The uppercase K has a larger loop at the beginning and the lowercase k has a smaller loop. Continue practicing the letter K until you feel comfortable and confident in your ability to write it neatly and consistently. With time and practice, your cursive K will improve and you will be able to write it with ease. As you continue to practice your cursive writing, be sure to pay attention to the other letters as well. Cursive writing involves fluid, connected strokes, so it is important to practice the entire alphabet in order to develop a cohesive and legible handwriting style. Remember, writing cursive K (and any other letter) takes time and practice. Don't get discouraged if your letters don't come out perfectly at first – with a little patience and persistence, you will improve and be able to write beautiful cursive K's in no time.