Cursive Letters Chart | Cursive love
In today's digital age, where typing has become the norm, the art of handwriting seems to be fading away. However, there is still immense value in developing beautiful and legible handwriting, especially in cursive. Cursive writing not only adds elegance to your words but also improves fine motor skills and enhances brain connectivity. To help you embark on this journey of mastering cursive writing, we present a comprehensive cursive letters chart. This article will guide you through the various aspects of cursive handwriting, from its history to the proper formation of each letter.


History of Cursive Writing
Cursive writing has a rich history that dates back centuries. Its origins can be traced to ancient civilizations such as the Egyptians and Romans, who used a flowing style of writing. In the medieval period, monks developed a script known as "carolingian minuscule," which served as the foundation for modern cursive writing. Over time, different styles of cursive writing emerged, including Spencerian script and Palmer method. Today, we have various cursive styles, each with its unique characteristics.
Benefits of Learning Cursive Writing
Learning cursive writing goes beyond mere aesthetics. It offers numerous benefits, both cognitive and practical. Studies have shown that cursive writing stimulates the brain and enhances neural connections, leading to improved learning and memory retention. Additionally, cursive writing helps develop fine motor skills, hand-eye coordination, and spatial awareness. Moreover, cursive writing allows for faster and more efficient note-taking, making it a valuable skill in academic and professional settings.
Getting Started with Cursive Writing
Before diving into the intricacies of cursive letter formation, it's essential to have the right tools and mindset. Start by obtaining a comfortable pen or pencil with good ink flow. Choose a writing surface that provides stability and a smooth texture. Set aside dedicated practice time and approach it with a positive attitude. Remember, learning cursive writing is a gradual process that requires patience and perseverance.
Understanding Cursive Letter Formation
Cursive letters are formed through a series of connected strokes. Each letter has a unique structure and rhythm. It's crucial to understand the basic strokes involved in cursive writing, such as the upward stroke, downward stroke, overcurve, undercurve, and compound curve. By mastering these strokes, you'll be able to write each letter with confidence and consistency.
Lowercase Cursive Letters
Basic Strokes
Before we delve into specific letter formations, let's explore the basic strokes that underpin lowercase cursive letters. These strokes include the upward stroke, which moves from the baseline to the midline, and the downward stroke, which extends from the midline to the baseline. Additionally, we have the overcurve, which is a curved stroke that starts at the midline and loops above it, and the undercurve, which is a similar curved stroke that loops below the midline. Lastly, the compound curve combines both the overcurve and undercurve in a single fluid motion.
Formation Guide for Each Letter
Now, let's examine the formation of each lowercase cursive letter using the basic strokes we've just learned. Remember to practice each letter slowly and deliberately, paying attention to the proper height, width, and slant. Here is a guide to forming the lowercase cursive letters:
- a: Start with an upward stroke from the baseline, form a small overcurve, and then continue with a downward stroke.
- b: Begin with an upward stroke, create an overcurve, and then loop it back around to form a small tail.
- c: Make an undercurve starting at the midline, loop it back around, and finish with a downward stroke.
- d: Start with an upward stroke, form an overcurve, and then extend it below the midline.
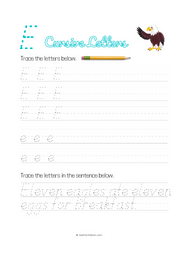
- e: Begin with an upward stroke, create an overcurve, loop it around, and finish with a horizontal line.
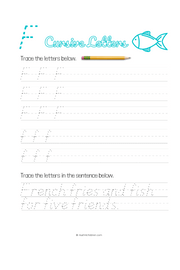
- f: Make an upward stroke, create a small loop, and then add a horizontal line extending from the loop.
- g: Start with an upward stroke, create an overcurve, extend it below the midline, and finish with a small loop.
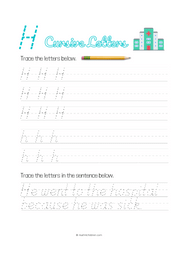
- h: Begin with an upward stroke, add an overcurve, and then continue with a downward stroke.
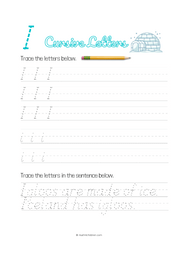
- i: Make a straight downward stroke with a slight loop at the top.
- j: Start with an upward stroke, create an overcurve, and then extend it below the midline with a small hook.
- k: Begin with an upward stroke, form an overcurve, and then add a diagonal stroke connecting to the midline.
- l: Make a straight downward stroke with a slight loop at the bottom.
- m: Start with an upward stroke, create an overcurve, form a compound curve, and finish with a downward stroke.
- n: Begin with an upward stroke, add an overcurve, and then continue with a compound curve.
- o: Make a small undercurve starting at the midline and loop it back around.
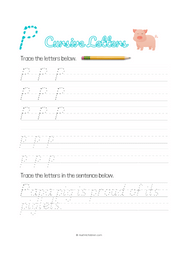
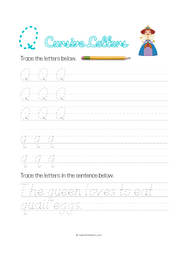
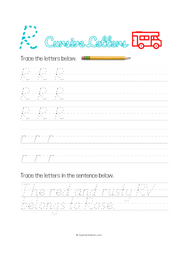
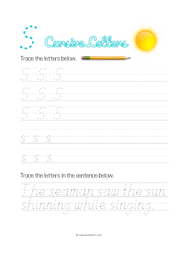
Please refer to the complete cursive letters chart for the formation guide of all lowercase letters.
Uppercase Cursive Letters
Basic Strokes
Just like lowercase cursive letters, uppercase cursive letters also rely on specific basic strokes. These strokes include upward strokes, downward strokes, overcurves, undercurves, and compound curves. By understanding these basic strokes, you'll be able to write uppercase cursive letters with grace and consistency.
Formation Guide for Each Letter
Now, let's explore the formation of uppercase cursive letters using the basic strokes we've discussed. Remember to maintain proper proportions and slant as you practice each letter. Here is a guide to forming the uppercase cursive letters:
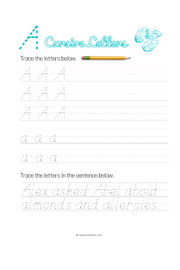
- A: Start with an upward stroke from the baseline, create an overcurve, and then form a downward stroke with a loop at the bottom.
- B: Begin with an upward stroke, form an overcurve, and then create a compound curve that connects to the baseline.
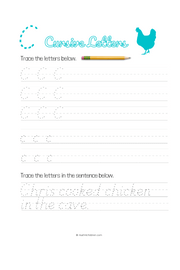
- C: Make an undercurve starting at the midline, loop it back around, and finish with a downward stroke.
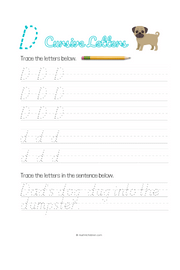
- D: Start with an upward stroke, create an overcurve, and then extend it below the midline with a loop.
- E: Begin with an upward stroke, create an overcurve, loop it around, and finish with a horizontal line.
- F: Make an upward stroke, create a small loop, and then add a horizontal line extending from the loop.
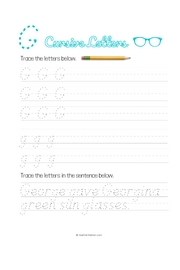
- G: Start with an upward stroke, create an overcurve, extend it below the midline, and finish with a loop.
- H: Begin with an upward stroke, add an overcurve, and then continue with a downward stroke.
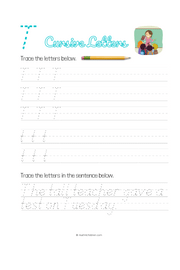
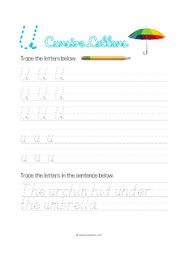
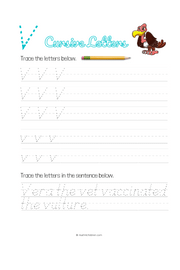
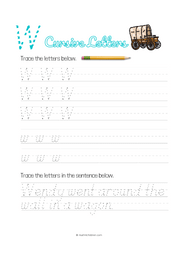
- I: Make a straight downward stroke with a slight loop at the top.
- J: Start with an upward stroke, create an overcurve, and then extend it below the midline with a hook.
- K: Begin with an upward stroke, form an overcurve, and then add a diagonal stroke connecting to the midline.
- L: Make a straight downward stroke with a slight loop at the bottom.
- M: Start with an upward stroke, create an overcurve, form a compound curve, and finish with a downward stroke.
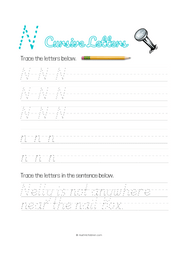
- N: Begin with an upward stroke, add an overcurve, and then continue with a compound curve.
- O: Make a small undercurve starting at the midline and loop it back around.
Please refer to the complete cursive letters chart for the formation guide of all uppercase letters.
Connecting Cursive Letters
Once you've mastered the formation of individual cursive letters, it's time to learn how to connect them fluidly. Connecting cursive letters involves joining each letter in a continuous flow, without lifting your pen or pencil from the paper. Pay attention to the proper entry and exit strokes of each letter to achieve a seamless and legible cursive writing style.
Tips for Practicing Cursive Writing
To enhance your cursive writing skills, consider the following tips:
- Practice regularly: Set aside dedicated practice time each day to reinforce your muscle memory and improve your fluency.
- Start with basic strokes: Focus on mastering the basic strokes before attempting complete letters and words.
- Follow a structured approach: Begin with lowercase letters, then progress to uppercase letters, and finally practice connecting them.
- Copy and emulate: Find cursive writing samples that inspire you and try to recreate them. Pay attention to letter proportions, slant, and flow.
- Write slowly and deliberately: Take your time to ensure proper formation and legibility.
- Seek feedback: Ask a friend or family member with good cursive handwriting to provide feedback and guidance.
- Use lined paper: Practice on lined paper to maintain consistency in letter size and spacing.
Common Mistakes to Avoid
When learning cursive writing, it's common to make some mistakes. Here are a few common pitfalls to watch out for:
- Inconsistent slant: Maintain a consistent slant throughout your writing for a cohesive and aesthetically pleasing look.
- Overly loopy or cramped letters: Strive for a balance between elegant loops and cramped, unreadable letters.
- Uneven letter spacing: Pay attention to the spacing between letters to ensure readability and clarity.
- Rushing: Practice patience and take your time to form each letter correctly. Speed will come with practice.
Improving Cursive Writing Speed
As you gain confidence in cursive writing, you'll naturally want to improve your speed without sacrificing legibility. Here are a few tips to help you write cursive faster:
- Practice fluidity: Focus on maintaining a smooth and continuous flow between letters.
- Minimize pen lifts: Aim to write entire words or phrases without lifting your pen, except when necessary for legibility.
- Master common letter combinations: Identify letter combinations that frequently appear together and practice writing them seamlessly.
Applications of Cursive Writing
Cursive writing has numerous applications beyond its aesthetic appeal. Here are some areas where cursive writing can be beneficial:
- Personal correspondence: Add a personal touch to handwritten letters, greeting cards, or thank-you notes.
- Signatures: Develop a unique and elegant signature that reflects your personality.
- Creative projects: Use cursive writing in art, calligraphy, and other creative endeavors.
- Note-taking: Employ cursive writing for efficient and speedy note-taking during lectures, meetings, or brainstorming sessions.
Cursive Writing in the Digital Age
In today's digital world, where typing has become prevalent, cursive writing still holds value. While it may not be as frequently used as in the past, learning cursive can be a form of self-expression and a way to preserve a timeless skill. Additionally, cursive writing can be a source of relaxation and mindfulness in a technology-driven society.
Resources for Further Learning
To continue your journey in mastering cursive writing, here are some additional resources you can explore:
- Online tutorials: There are numerous online tutorials and video lessons available that provide step-by-step guidance for cursive writing.
- Worksheets and practice books: Printable cursive writing worksheets and practice books can be found online or purchased from bookstores.
- Calligraphy classes: Consider enrolling in a calligraphy class or workshop to further refine your cursive writing skills.
Conclusion
Cursive writing is an art form that adds elegance and personality to your handwritten words. By following the guidance provided in this article and practicing regularly, you can master the art of cursive writing. Remember, patience and dedication are key to achieving beautiful, legible cursive handwriting.
FAQs (Frequently Asked Questions)
-
Why should I learn cursive writing in the digital age?
- Learning cursive writing enhances brain connectivity, improves fine motor skills, and allows for faster note-taking. It also provides a personal touch in an increasingly digital world.
-
How long does it take to learn cursive writing?
- The time required to learn cursive writing varies from person to person. With consistent practice, you can begin to see improvements within a few weeks.
-
Can I develop my own cursive writing style?
- Yes, cursive writing allows for personal style and flair. As you practice, you'll naturally develop a unique handwriting style that reflects your individuality.
-
Is cursive writing still taught in schools?
- Cursive writing is no longer universally taught in schools, but many educational institutions recognize its value and include it as part of their curriculum.
-
Can adults learn cursive writing?
- Absolutely! It's never too late to learn cursive writing. With determination and practice, adults can acquire the skill and enjoy its benefits.